
Finally! Some sewing just for me!
Looking back to our trip to Asia earlier this year I blogged about how in Brunei textiles were full of pattern. The contrast to Hong Kong couldn’t have been more marked. The street style was definitely distinctive but it took me a day or two to really put my finger on it. There’s hardly any printed patterned fabric being worn! In Hong Kong it’s all about the shape. Yes, you’ll see a little print, maybe on a tee-shirt or a rucksack, perhaps a few stripes just occasionally, but almost everything else is plain.
Shapes are boxy, and loose in the main, looking slightly oversized and just gorgeous and quite cute in a stylish way.
I bought a few things – as one does – a navy floaty, pleated chiffon skirt, a loose, culotte jumpsuit with a boxy overtop, and a pair of navy and white striped ankle-grazer trousers.
How does this affect my sewing? Well for a while now I’ve been trying to slim down my wardrobe into things I actually wear. Using Project 333 as inspiration I got rid of the things I'd bought and never worn (don’t pull that face, we’ve all done it!), that didn’t fit well, that I didn’t actually like and so on, and was amazed by how much easier it was to get dressed in the mornings! I could see what went with what but I could also see gaps in my wardrobe.
I’ve realised I tend to wear trousers most of the time with the occasional skirt or dress in the mix. What I need is more loose, short trousers and culottes for summer to bridge the trouser/skirt gap.
Hence my latest sewing make – the Roehampton culottes.
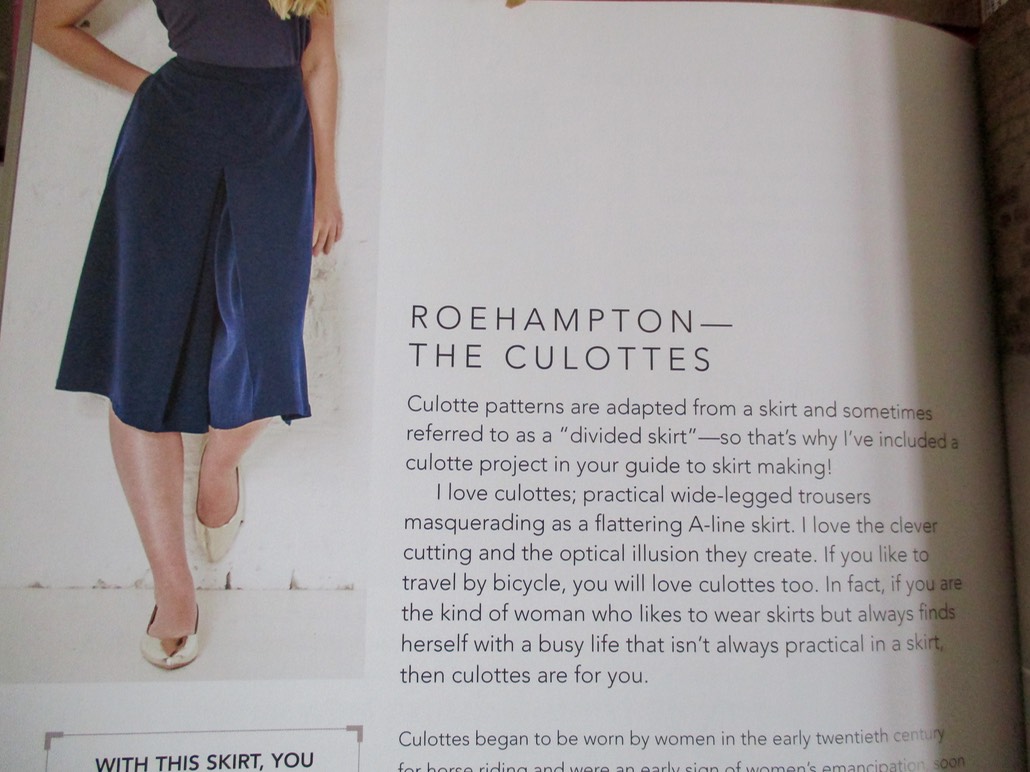
I was given this lovely book last Christmas and it’s taken me this long to get around to using it. I considered several fabrics from my stash for the first make but settled on what is probably the worst-fabric-on-earth-to-sew-culottes with!
I should say at this point that I have not been asked to write this review or am I being rewarded in any way.
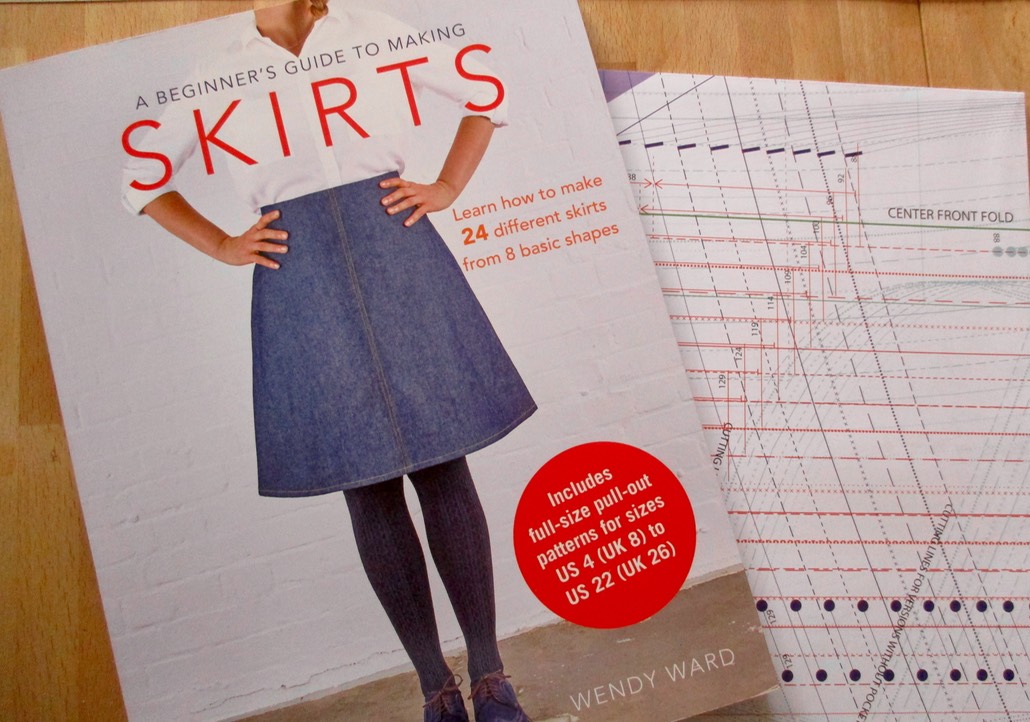
This is described as a book for beginners, and whilst I am not a beginner sewer it’s a good idea once in a while to go back to basics and try to get rid of bad habits, and with 24 different skirts from 8 basic blocks this book represents good value for money too.
At first glance this book could terrify a beginner! The instructions skip about a bit throughout the book so you might start on page 92 but then find yourself sent to page 144 for a detailed instruction on how to insert a zip.
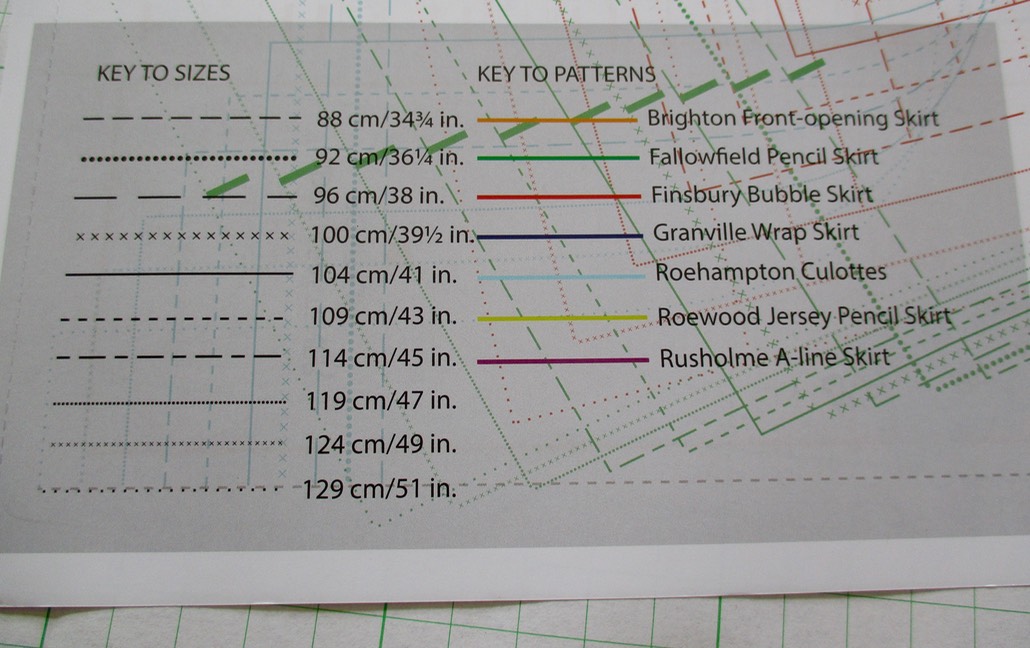
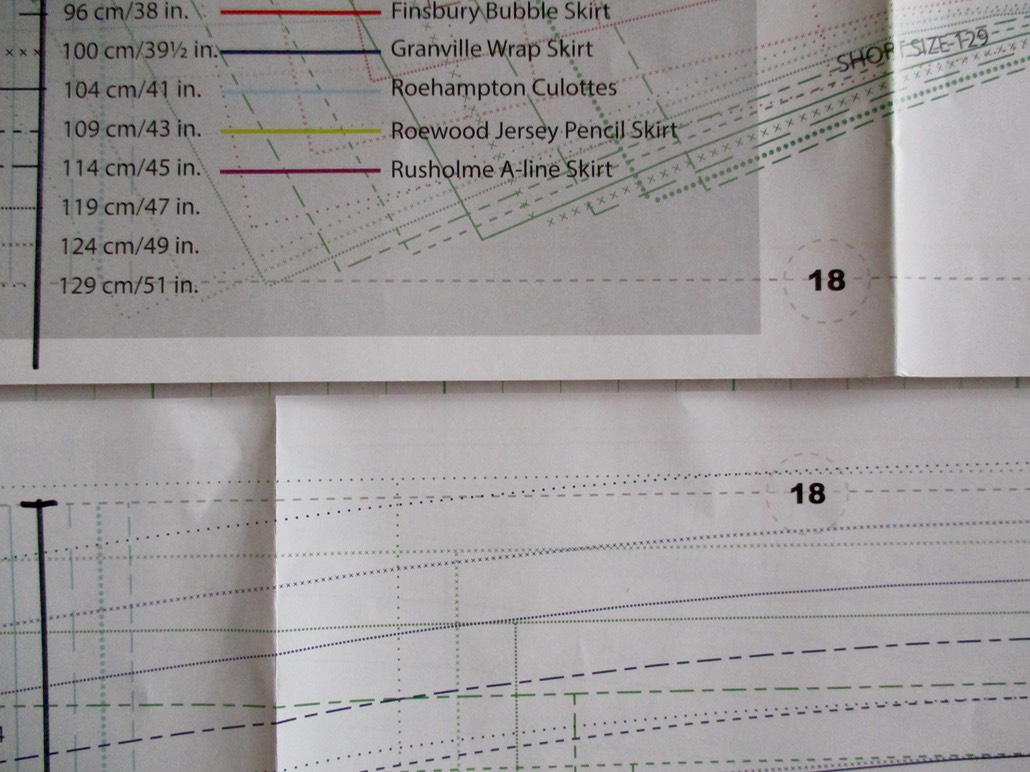
The pattern sheets appear to be a nightmare of a tangle of different coloured lines and markings.
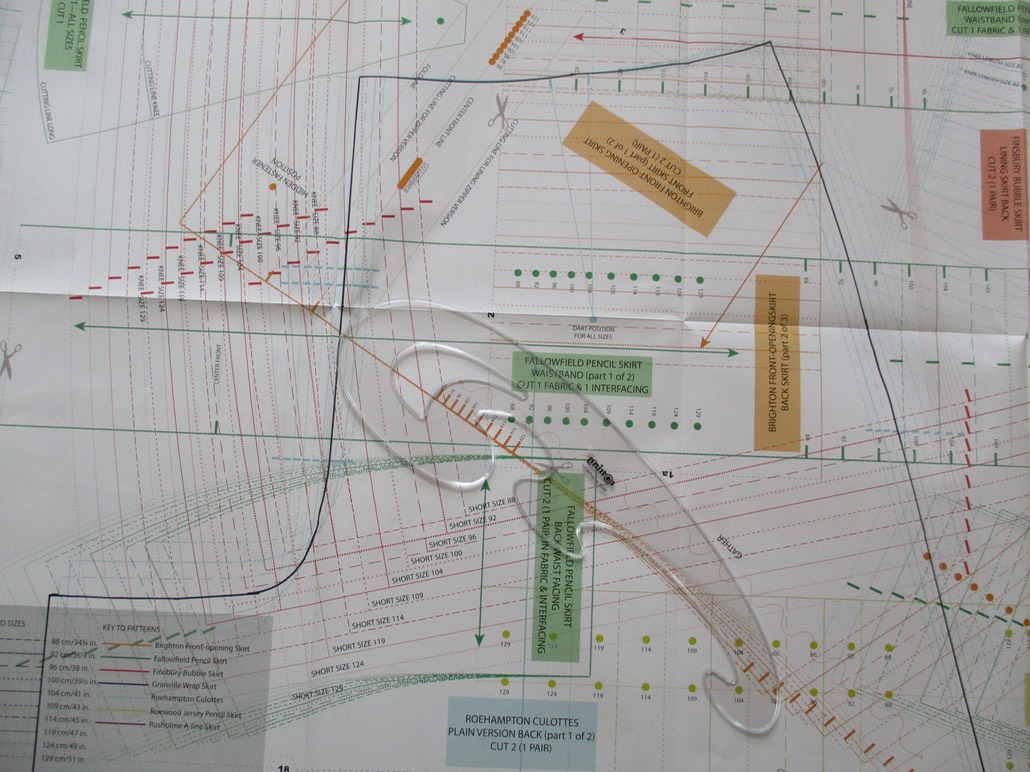
HOWEVER, if you follow Wendy Ward’s instructions to the letter, it all makes perfect sense. If you have a little knowledge, the temptation could be to skip a few instructions and I think that could land you in a few problems, but provided you stick to Wendy’s no-nonsense steps you won’t go far wrong.
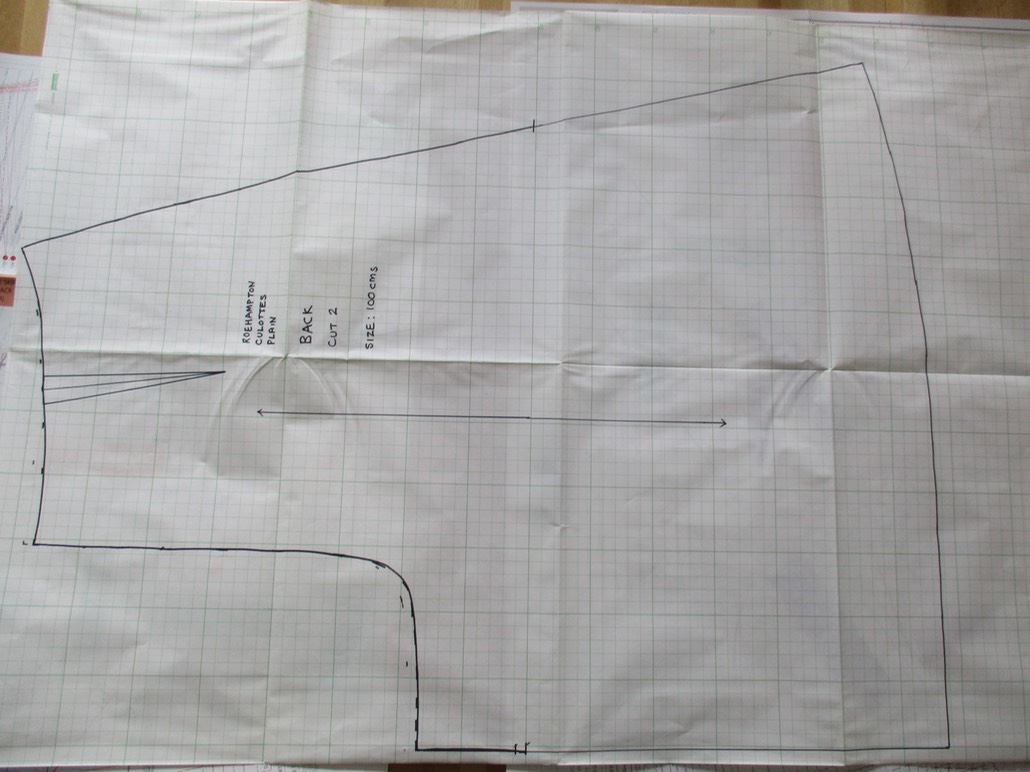
Tracing off the pattern requires patience and a gimlet eye to follow some of the lines. Don’t take your eye off the ball - I ended up with a waistband that was a good 5 inches too long at the first attempt! Some pieces are printed on more than one sheet so piecing together is required…
… sometimes with a little bit of extra paper added on!

Ensure you transfer all the markings for the darts, grainline, etc.
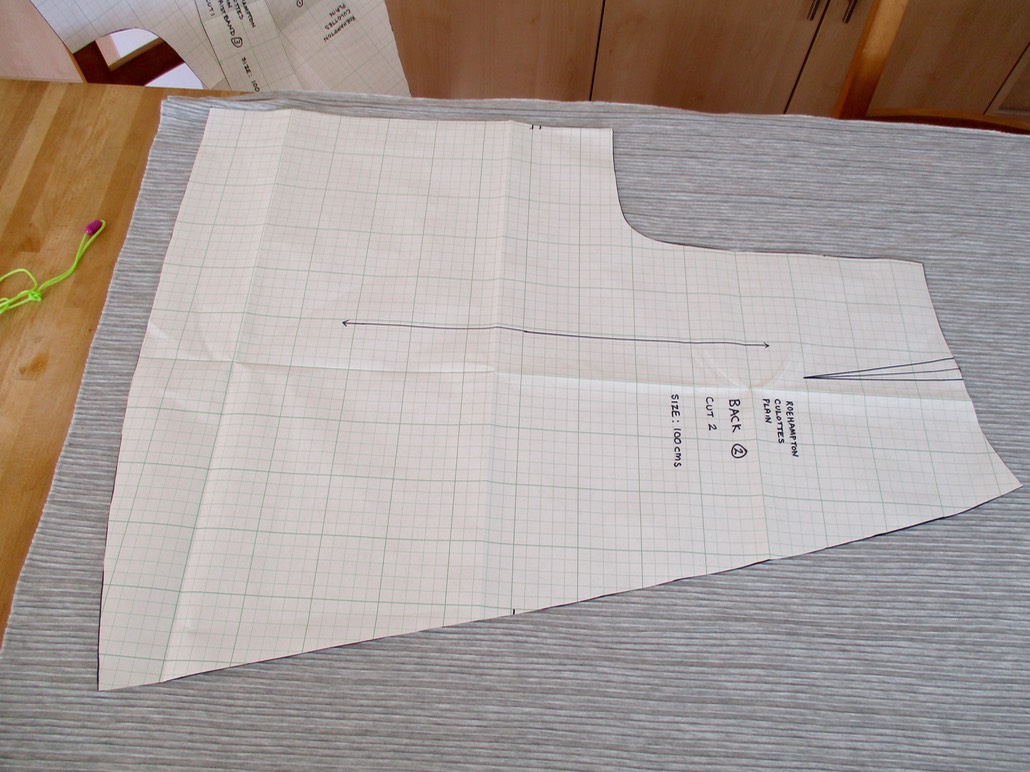
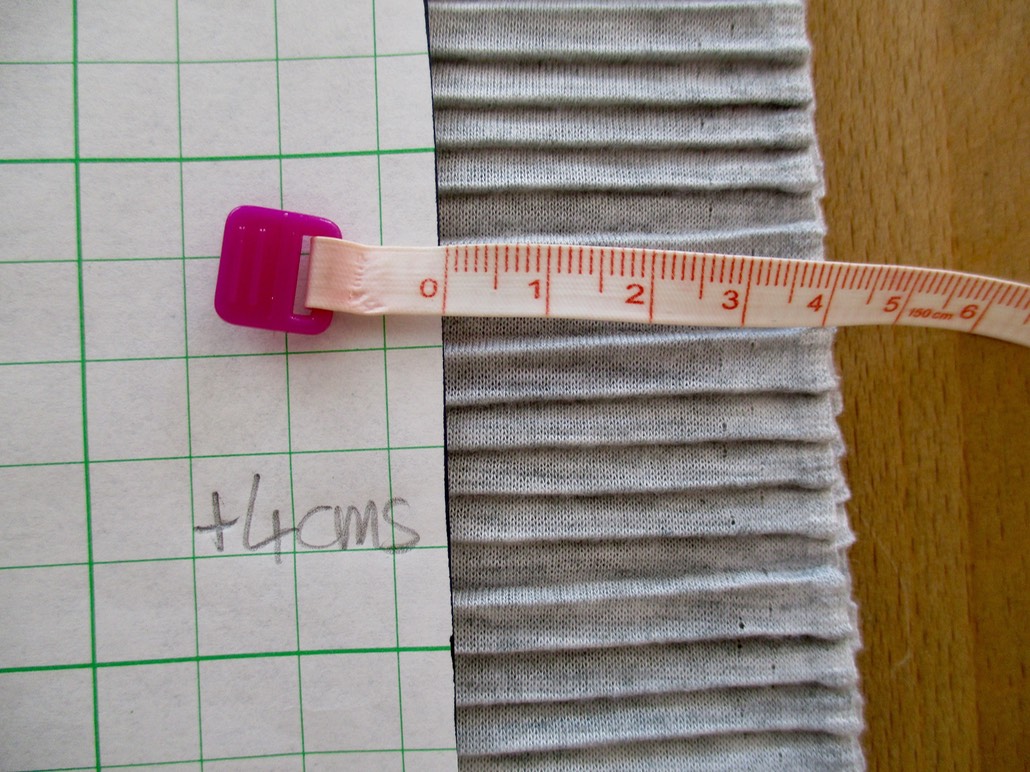
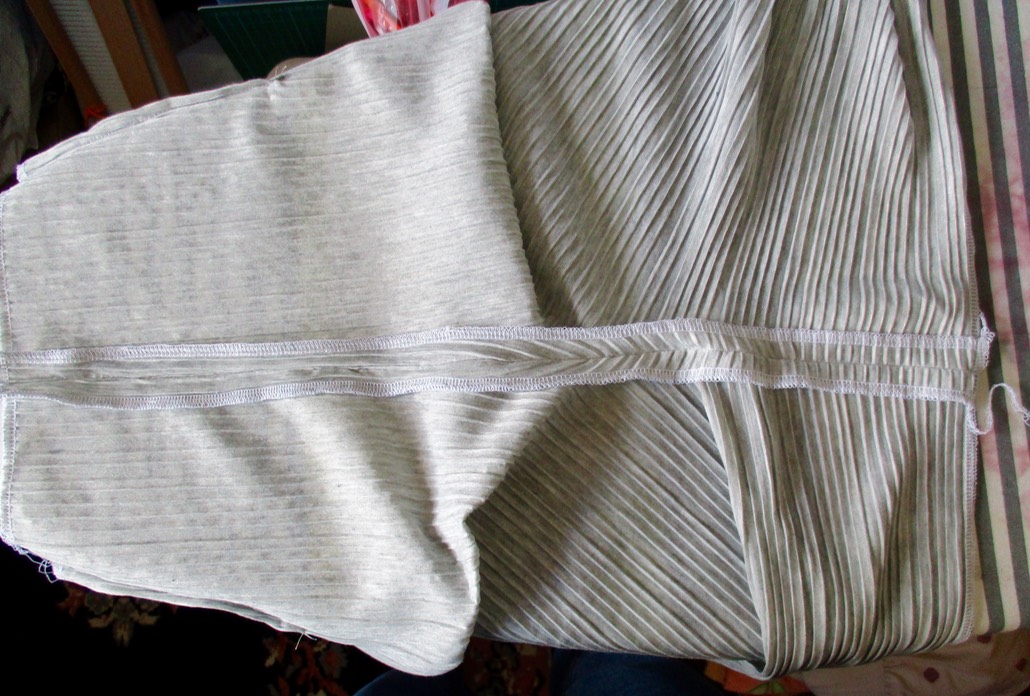
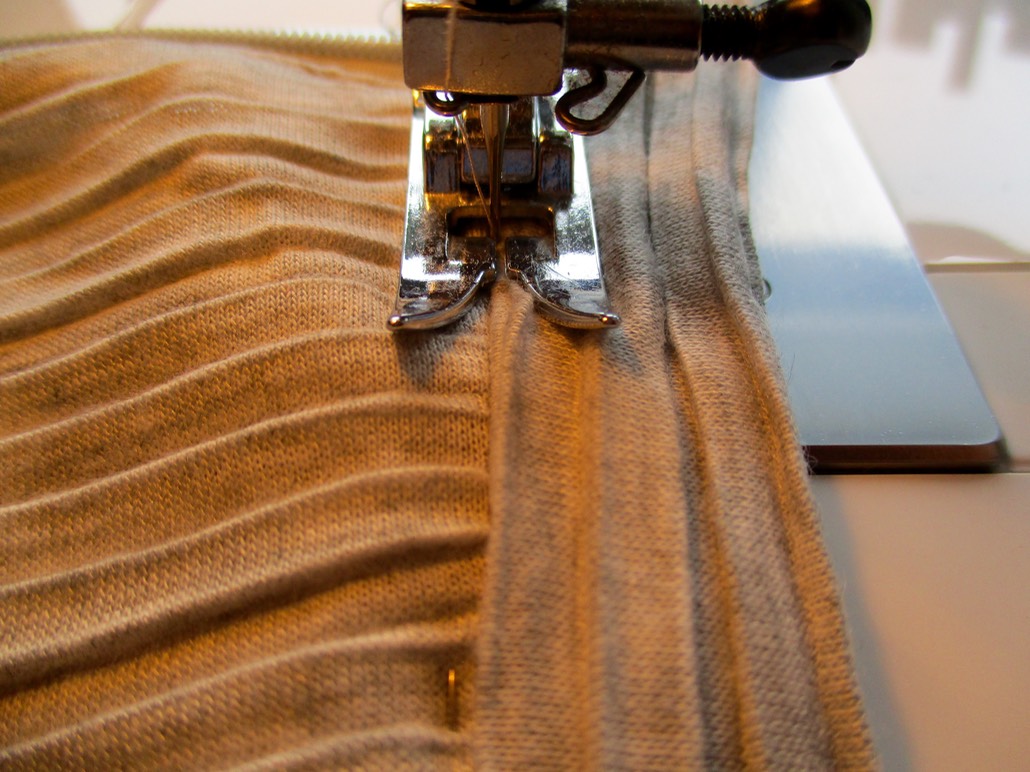
The fabric I chose is a permanent-pleated jersey in a soft grey. It already had a double folded narrow hem and I wanted to keep this because I didn’t want to have to hem a fabric with tiny pleats - nightmare!
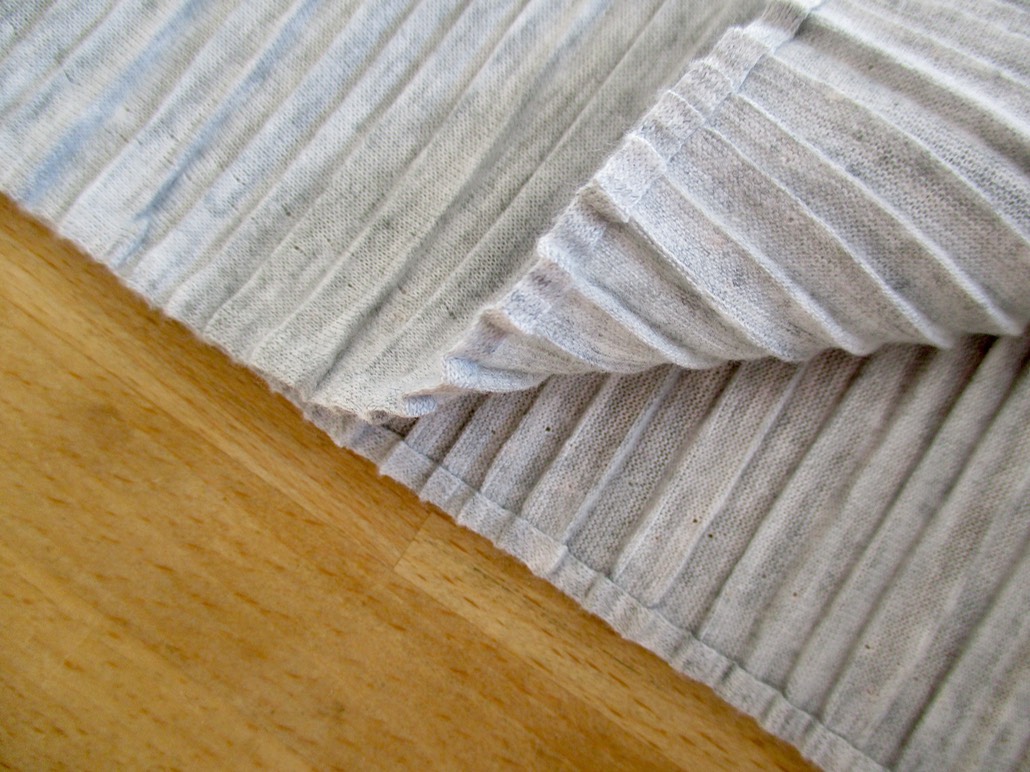
This presented its own problems as the culottes hem is curved and my fabric is straight. Hmm. In the end I decided to go with it and see what an asymmetric hem might look like on the finished garment. Ha! Fearless!
I added on an extra 4 cms to give me longer length.
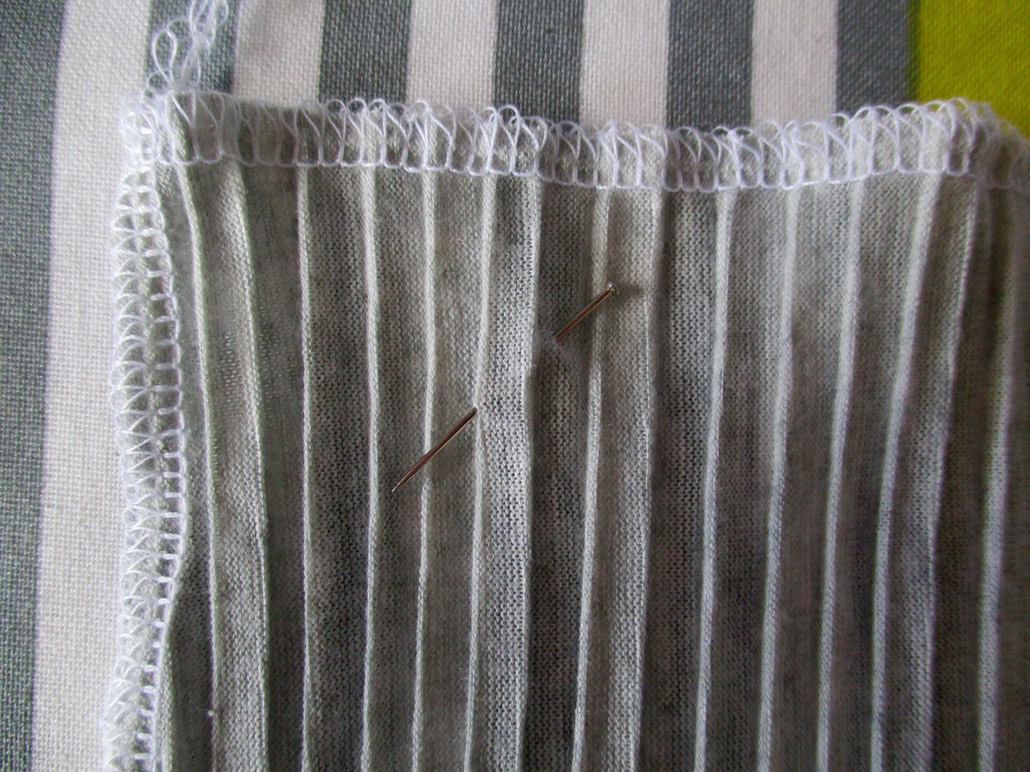
I overlocked all the raw edges.
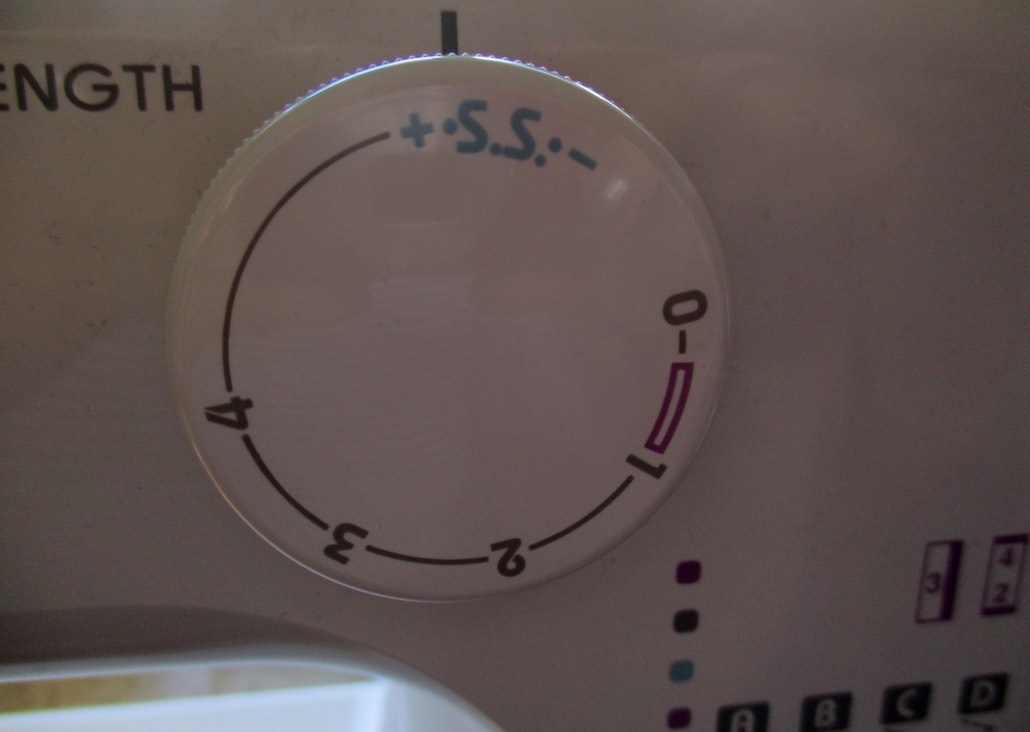
I REALLY should have stay-stitched to top waist edge of all my pieces to keep the pleats in place but I didn’t. Hmm. I tried out a stretch-stitch on a spare bit of fabric and it really didn’t like it for some reason so I reverted to the ususal straight stitch.
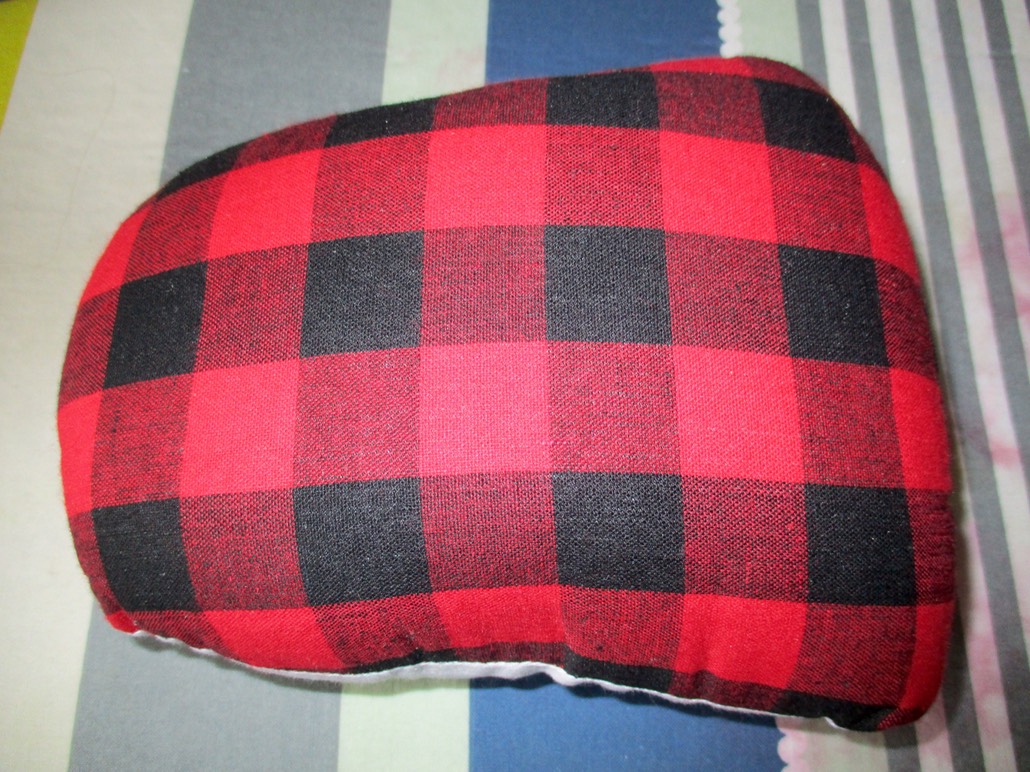
I pressed all the seams open as I went along, using another Christmas present - a funky tailor’s ham.
It’s a while since I inserted a lapped zip and I found Wendy’s instructions very clear. Now, if you’ve been sewing a while you might think you don’t need to tack (baste). I confess I don’t tack most of the time - except for fiddley stuff like positioning a set-in sleeve - but having read Wendy’s excellent blog post on tacking, even when I don’t tack I can hear her at my shoulder saying, “That would have come out a lot easier if you’d tacked it first!”, so this time I followed her to the letter! I used a marker with disappering ink to mark it first...
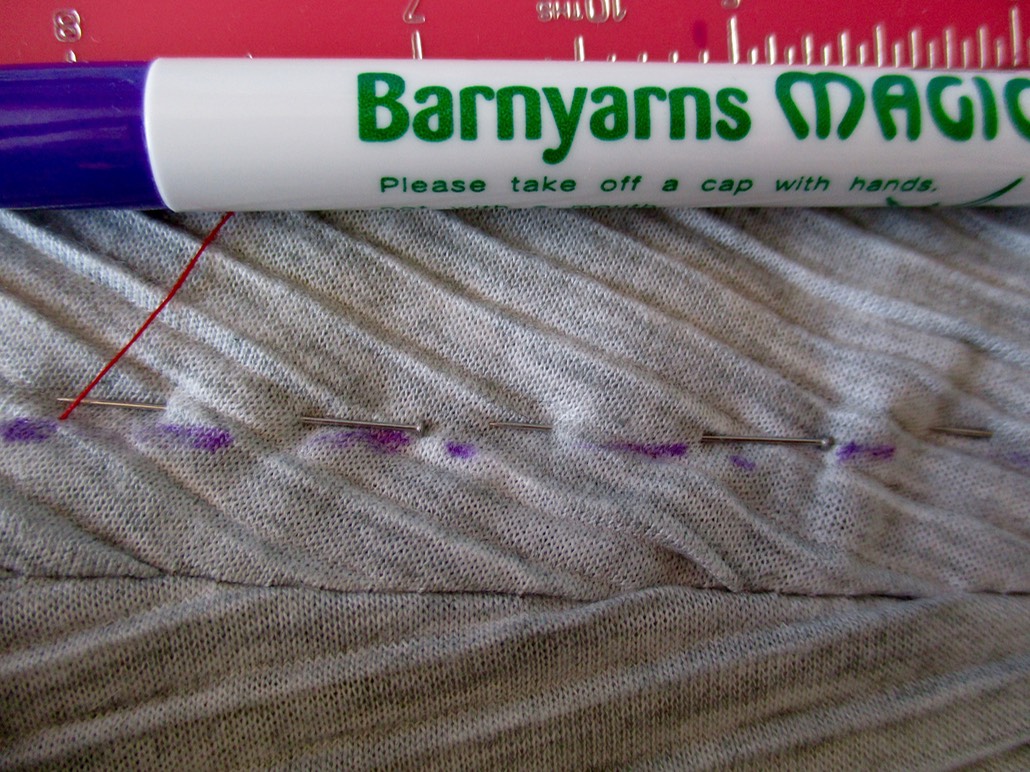
… then tacked and sewed...
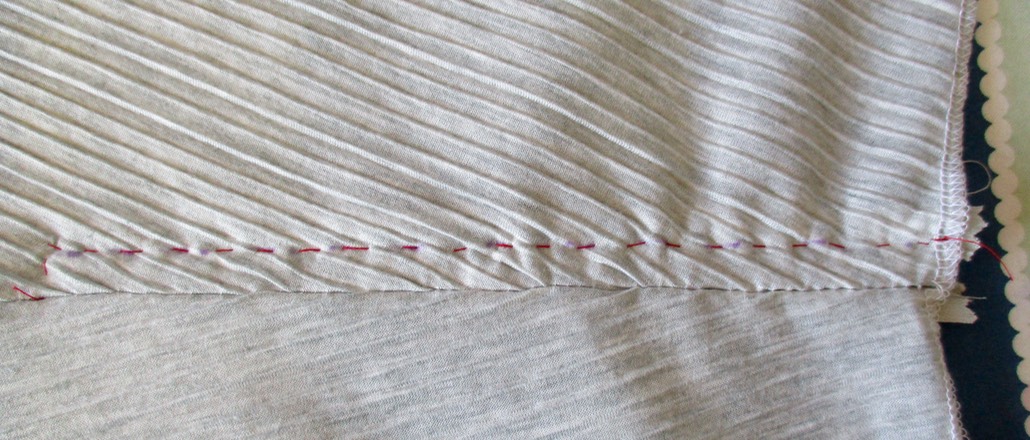
... and it was better than I thought it might be with such wibbly wobbly fabric.
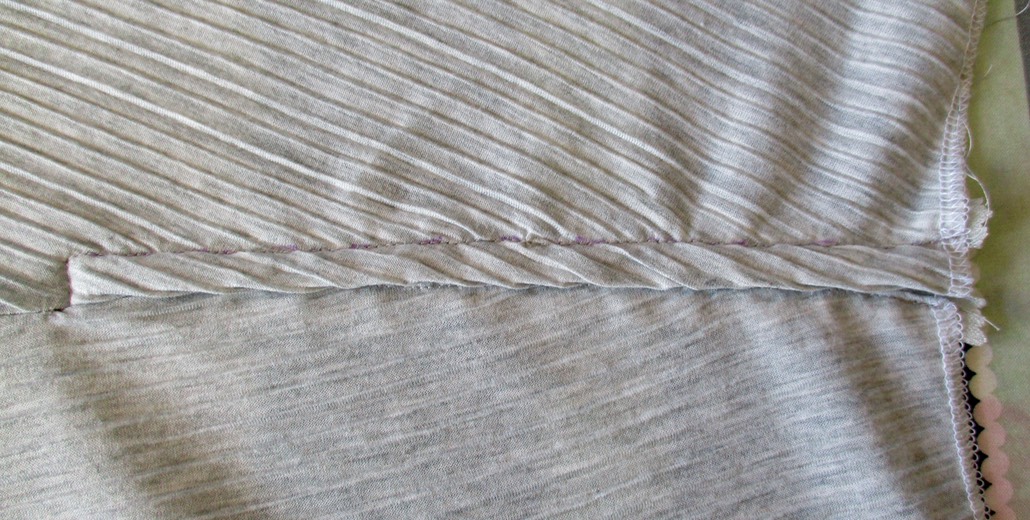
I even tacked the waistband, yay! Essential with this fabric.

Stitching was a bit fiddly with this super-soft, slippy fabric - did I mention it was going to be really hard to sew?! - and stay-stitching the waist would have helped, but it turned out “OK”.
Now I had a dilemma. Usually when I attach a waistband I fold so the the inside is slightly longer than the outside and then 'stitch in the ditch’ on the outside, which catches the inside in place. Should I abandon this for one of Wendy’s methods? I decided to go with what I know in this instance, just with a little handsewn finishing.
A snap fastener completed the waist and then came the moment of truth. Would that hem look avant garde or just badly sewn?
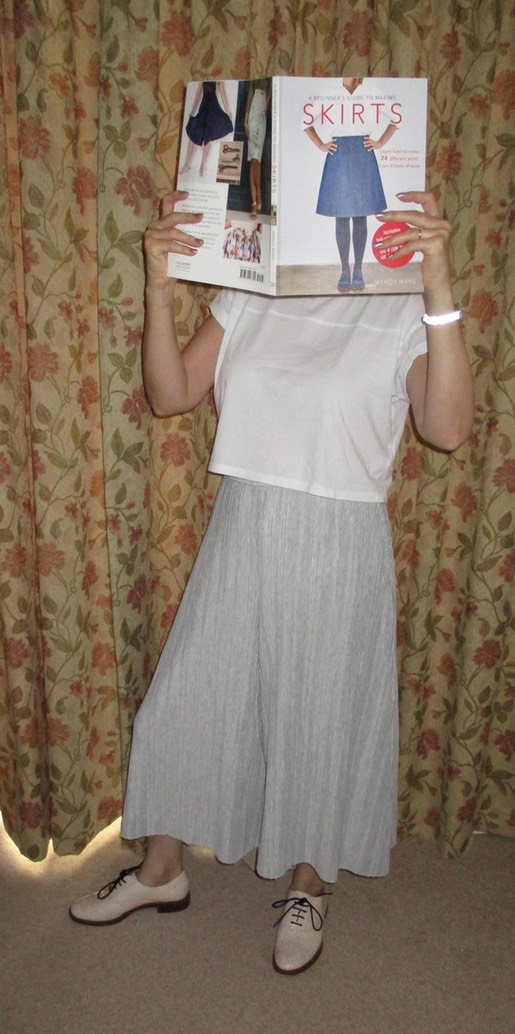
The hem slopes so subtly you can’t actually see that it’s not straight except if I stand directly sideways on and very, very still! Phew!
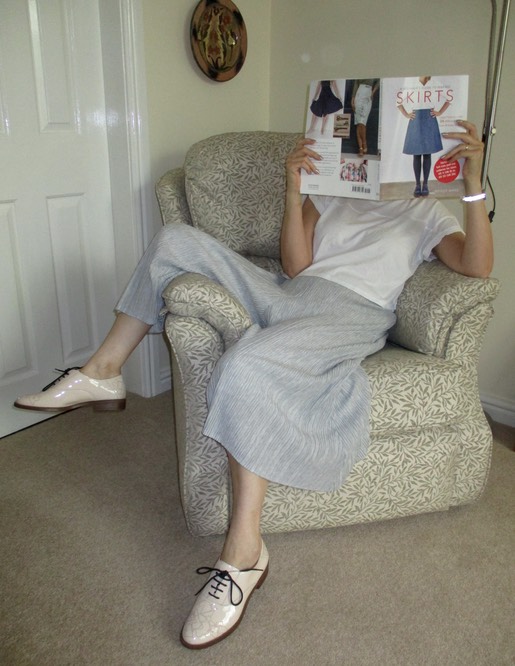
Would I use this pattern again? Yes, I’m about to cut out the navy linen I’ve had in readiness. These will be longer, more ankle-length and not quite so wide in the leg, so a bit of adjusting to do. But with straight hems!
I like this book. It’s well laid out, though going back to my days as a book designer, I would have liked a photo gallery of the 8 basic garments on the Contents page. The techniques pages at the back are great for beginners and advanced sewers alike. It’s always good to have access to sound basics for measuring, putting in zips, pockets, etc. In fact, I might put pockets in the navy pair I’m going to make. I’ll let you know!
xxxxxxxxxxxxxxxxxxxxxxxxxxxxxxxxxxxxxxxxxxxxxxxxxxxxxxxxxxxxxxxxxxxxxxxxxxxxxxx