
No Knead Bread
12th March 2022
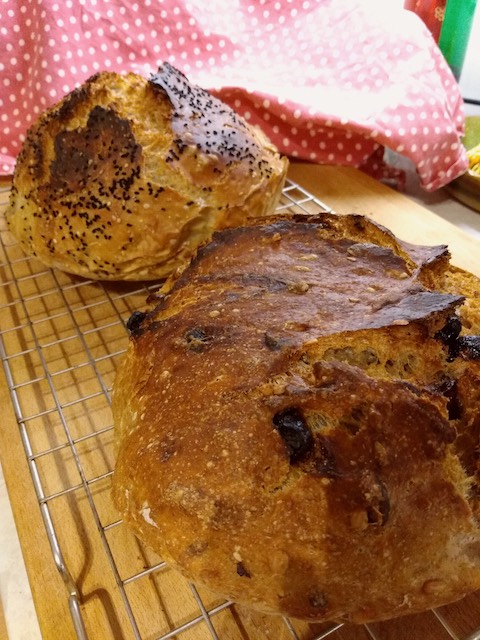
There’s a certain something about the smell of freshly baked bread. It’s somehow evocative of a comforting, reassuring time when life was more simple, when we didn’t just make time to bake, we had time to bake. I smell the aroma of fresh bread and I instantly want to eat some!

Kneading dough can be quite hard-going on already aching wrists so I was so pleased to come across ‘No Knead Bread”. There are many recipes out there, but here is mine with variations I’ve found to be reliable and delicious.
White Loaf
400g strong white bread flour
1/2 tsp dried fast-acting yeast
1 tsp salt
300ml tepid water
Wholemeal Loaf
100-200g strong wholemeal bread flour
strong white bread flour to make up to 400g — I find using more than half wholemeal to white makes the finished bread too dense.
1/2 tsp dried easy-bake yeast
1 tsp salt
300ml tepid water

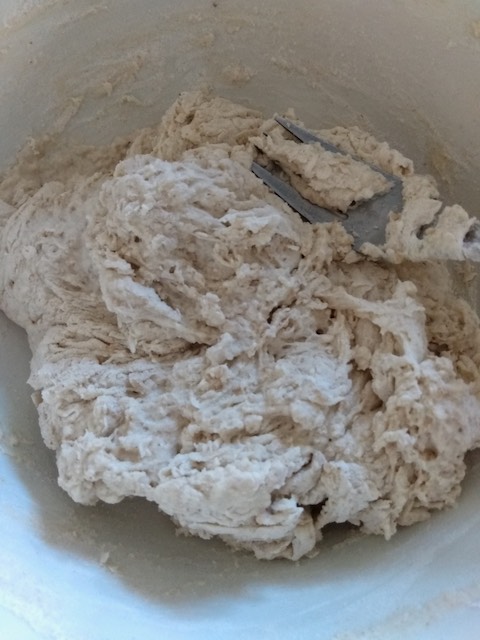
1. Mix the dry ingredients together in a large bowl with a balloon whisk. This saves having to sieve the flour.
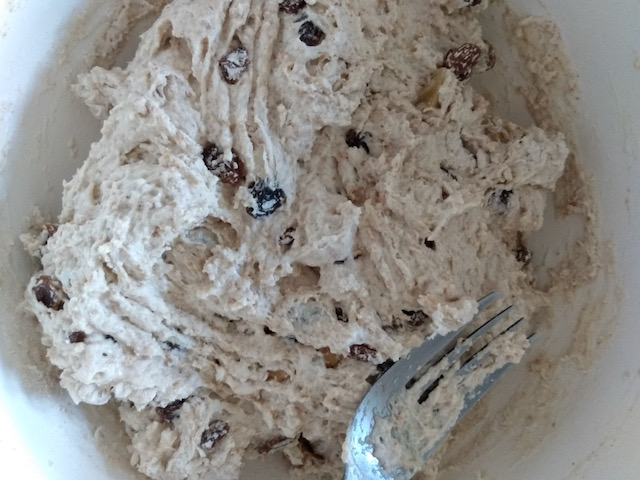
NOTE: At this stage you can add other ingredients. I often add some of the following:
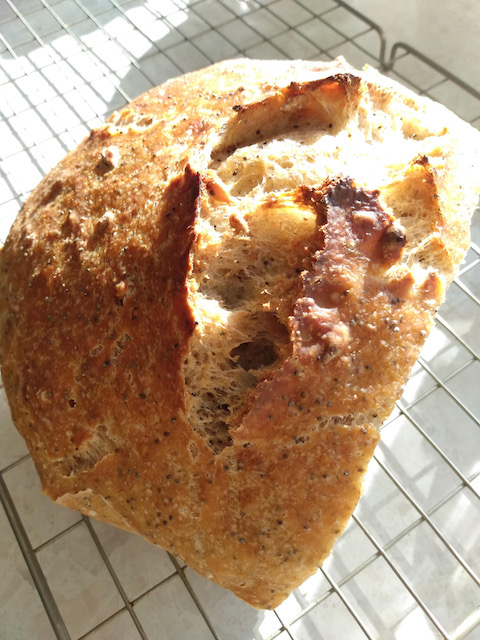
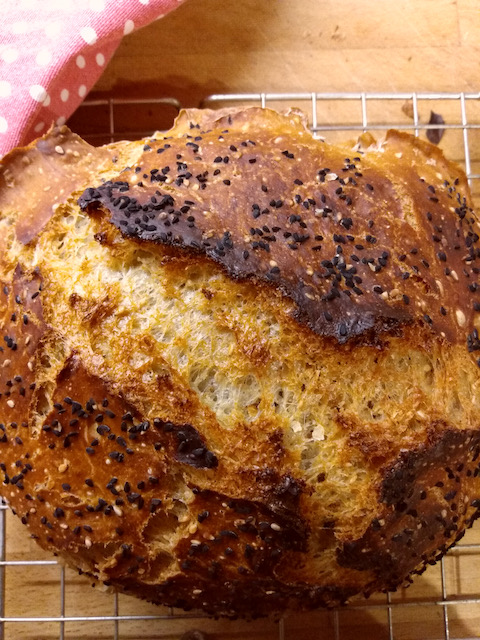
Seeds: white sesame, black sesame, pumpkins, sunflower, pine nuts, dried black onion seeds, poppy seeds
Nuts: broken walnuts, pecans
Dried fruits: cranberries, blueberries, dates, goji berries
I add up to two handfuls in any combination, depending on what it is.
Spices: 2 tsps mixed spice, cinnamon, ginger
Herbs: tbsp chopped rosemary, thyme, sage
NOTE: It is important to add a little more water if you are adding things to the basic dough. Maybe up to even 40ml more. You want the dough to be soft but not sloppy.
2. Add the water and mix together with a fork.
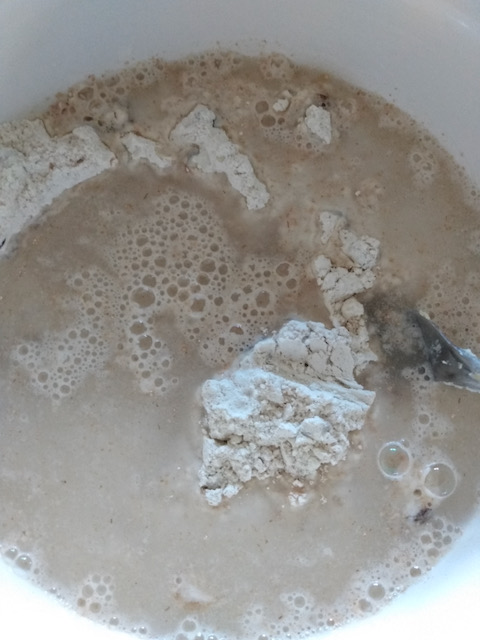
3. Cover with a shower cap and put in a warm place for around 12-18 hours, depending on how warm it is. I sometimes mix to this stage before going to bed and bake first thing in the morning. Alternatively, I mix first thing in the morning and bake in the evening. It will seem to mix itself and rise beautifully during this time.
4. Heat your oven to gas mark 8. That’s HOT!!!
5. Place a casserole pot with a lid into the HOT oven. I use a pyrex dish. You can use anything ovenproof with a lid.
NOTE: I bake two loaves at a time to make the most use of fuel. You will need more bowls and lidded pots!
6. Start your timer. I set for 20 - 30 mins, depending on if I’m in a hurry or not and how warm the place where my bread is proving is located.
7. Place a sheet of greaseproof paper into a clean bowl or another pyrex dish.
8. Scrape the dough straight into the paper. Some recipes say it should be knocked back at this stage but I find this works so I don’t bother.
9. Cover again with the shower cap and place somewhere warm to rise again.
10. When your timer goes off, carefully remove the HOT dish and lid from the oven.
11. Lift the greasefproof paper with the dough in and place it into the hot dish. Cover with the lid and bake for 30 minutes.
NOTE: Don’t have too much paper hanging over the side of the pot. I did once let an overplapping piece catch fire in the oven, ooops!
12: After 30 minutes have elapsed, remove the HOT lid and continue to bake for another 15 minutes.
13. Remove the dish from the oven, tip the bread onto a cooking rack and peel off the paper. The loaf should sound hollow when tapped on the botton. If it needs a little longer just pop it back in the oven for 5 minutes.
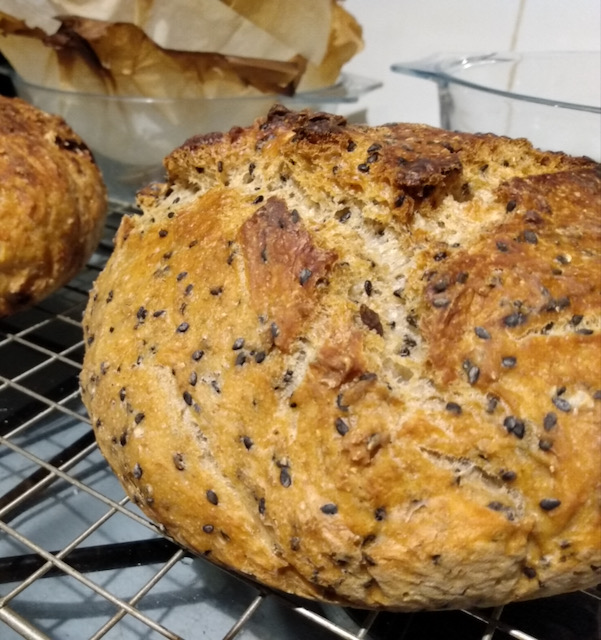
Try to resist cutting and eating the bread immediately! It will cut and taste better when warm but not hot.
Savour every crumb!
xxxxxxxxxxxxxxxxxxxxxxxxxxxxxxxxxxxxxxxxxxxxxxxxxxxxxxxxxxxxxxxxxxxxxxxxx
If you want to read my posts as I publish them, please sign up to my newsletter. It’s easy and you can unsubscribe at any time. Thanks!
xxxxxxxxxxxxxxxxxxxxxxxxxxxxxxxxxxxxxxxxxxxxxxxxxxxxxxxxxxxxxxxxxxxxxxxxx
Monochrome Yuletide Acacia
16th March 2022
Rice pudding brulee; speaking to a large, attentive audience; swimming to those rocks and back. You know that feeling when you’ve experienced something and you just want to do it again straight away?

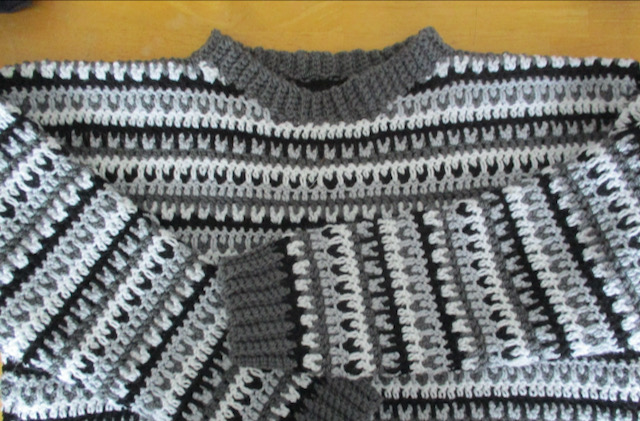
I finished my Christmas Yuletide Blanket/Acacia Sweater and immediately started the Monochrome version.
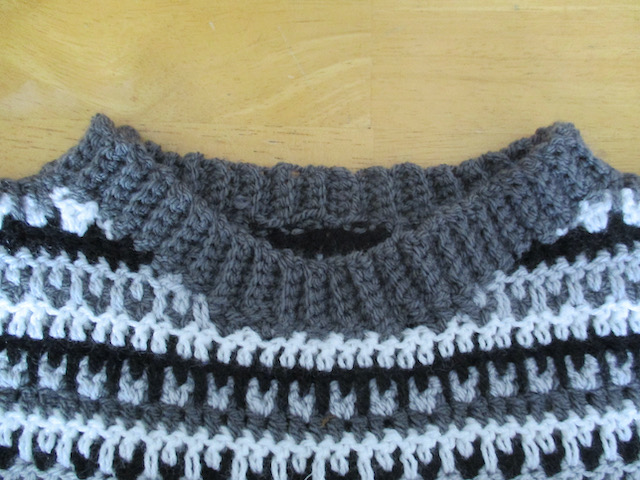
I made it a size down from the Christmas version to give a more fitted look and I decided on a rounder neck for this one.
Here are the details. Thank you for your patience if you’ve been waiting for these.
Use the Acacia Sweater pattern here, and the Yuletide Blanket stitch pattern here, throughout.
The yarns are:
Stylecraft Special DK - Black, Silver and Graphite,
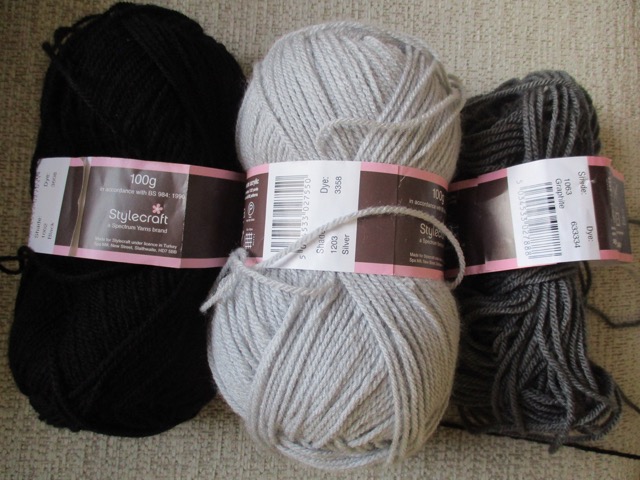
and Aldi Baby DK Shimmer.

When it came to the neck I shaped the neckline as follows.
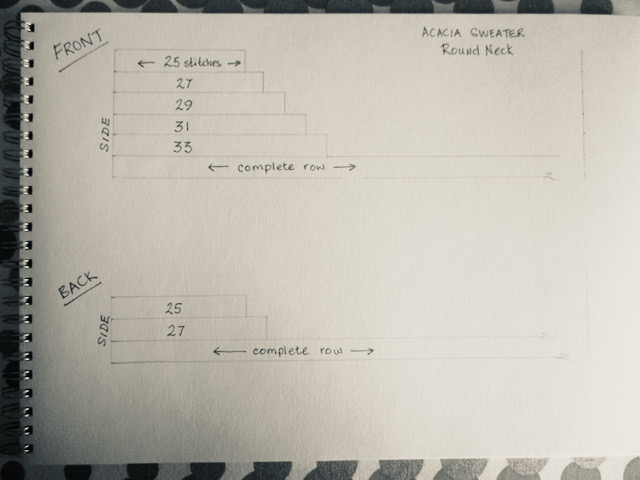
The ribbing for the neck was made as in the original instructions, but with 6 chain to start resulting in a rib of 5 stitches.

Caption tex
Measurements:
Centre Front to rib = 17”
Centre Back to rib = 18”
Centre Sleeve = 17.5"
With hindsight I’d have made the sleeves 2” longer and the body 1” longer. The original pattern is cropped and I did lengthen it for both versions, but I think the more fitted monochrome would look better a tad longer on me.

I really enjoyed making this. It’s an easy pattern and a lovely stitch pattern to get into. My thanks again to Lucy of Attic24 and Hooked on Tilly.
xxxxxxxxxxxxxxxxxxxxxxxxxxxxxxxxxxxxxxxxxxxxxxxxxxxxxxxxxxxxxxxxxxxxxxxxx
If you want to read my posts as I publish them, please sign up to my newsletter. It’s easy and you can unsubscribe at any time. Thanks!
xxxxxxxxxxxxxxxxxxxxxxxxxxxxxxxxxxxxxxxxxxxxxxxxxxxxxxxxxxxxxxxxxxxxxxxxx